Side Project! Hasbro Millennium Falcon Upgrade

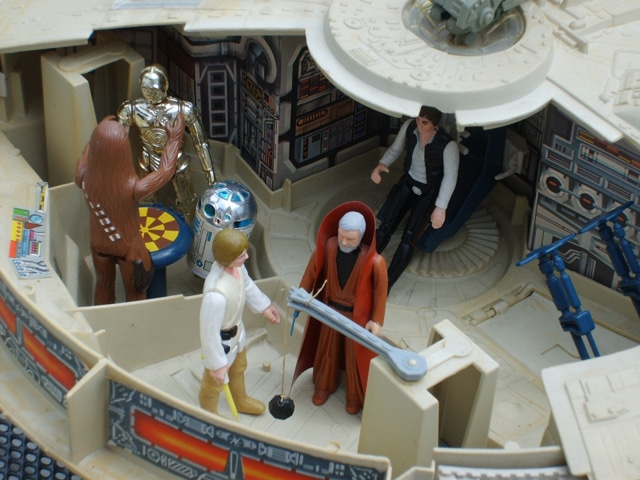
A long time ago, like a really really long time ago I got two awesome Christmas gifts. One was this poster of President Gerald R. Ford as Fonzie-

The other was a cherry Millennium Falcon (from my Uncle Roy). I have no idea where it went, but if my parents still have it, it’s coming home when I find it.

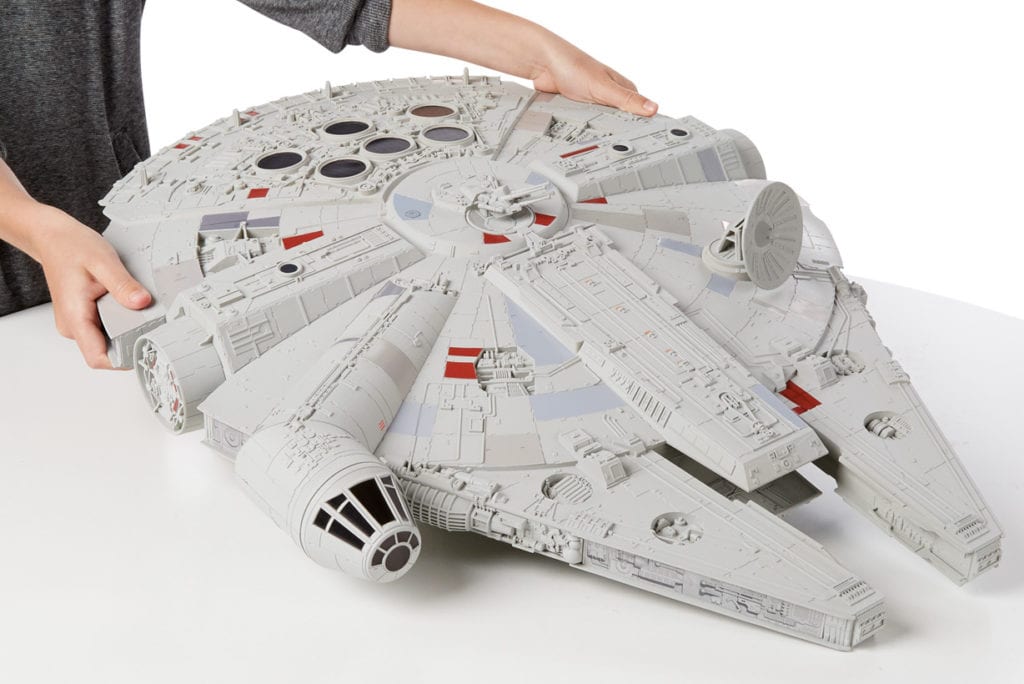
I bring this up, because a couple of friends and I are doing a Hasbro Millennium Falcon Upgrade. They are very kind and generous friends who have donated one to my collection, so it’s only fit it gets upgraded instead of stored. We’re all collaborating over the next year and converting them to a studio scale model versions.

In other words we’re gonna take:

Hasbro Toy Falcon

And turn it into this:

Don’t worry. Others have done all of the heavy lifting. There are models and kits that let you upgrade this toy with hi res 3D prints, and greeblies into a very screen accurate model and what scratch building there is will go into a build log. We’re going to share whatever we can with the community and have a lot of fun.

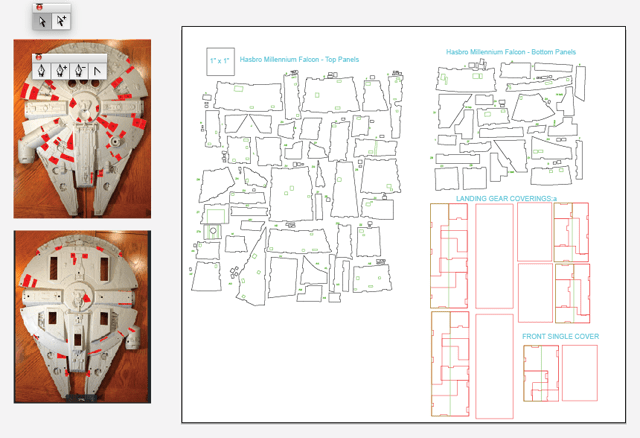
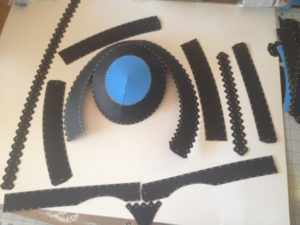
One of the first things you have to do is replace panels that Hasbro didn’t accurately make. We made some vector files so that we can laser cut replacement panels out of thin styrene plastic.

Hasbro Replacement Panel Upgrade Millennium Falcon

Check back soon for updates.

Save

Save

Save

Save

Save

Save

Save

Save

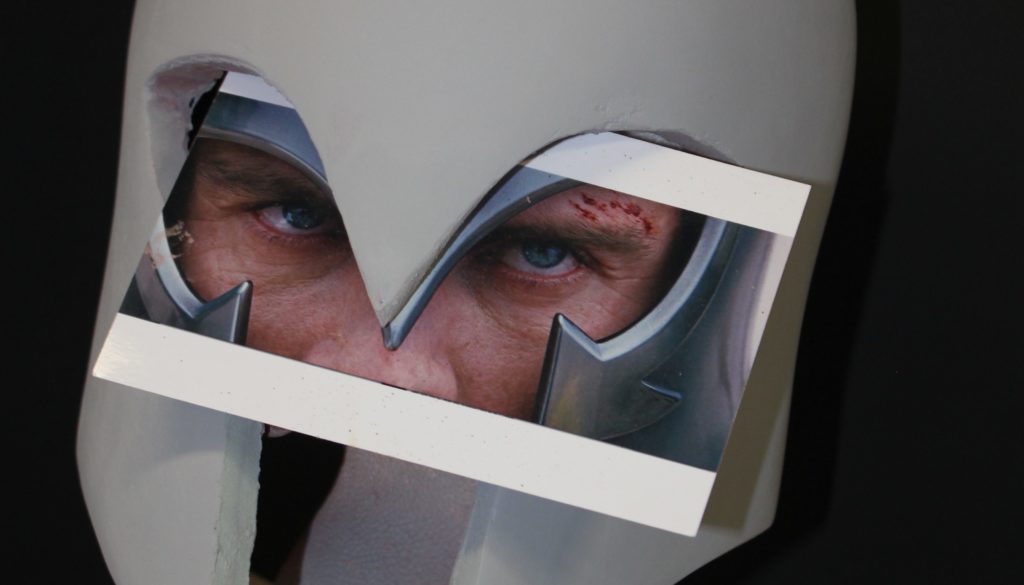
Sebastian Shaw / Magneto Helmet Build (Part 1: How to Pepakura)

When I started this, I was a die hard throw clay on a bust and sculpt your way to an awesome piece. Since it was always someone else’s dime doing a waste mold (molding and casting a piece to get to a stage where you can refine it) was par for the course. People were doing pepakura as a final product, so it was time to try something new.

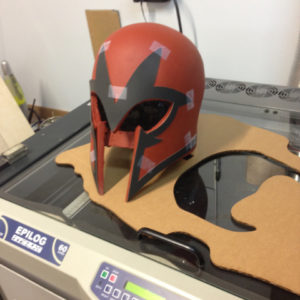
I took a short cut by using a laser. You can see how I did it here in this How To post here.

Stage One: You glue the cardboard together, laminate and fiberglass it for strength.
The best way to put attach the puzzle pieces is with a hot glue gun with a low temp setting. You don’t really burn your hands but you still have a moment to work a piece into place.
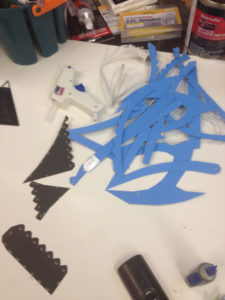
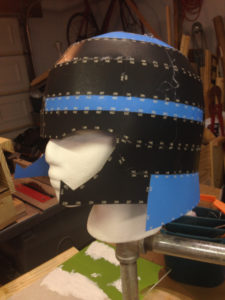
Somewhere along the way, I introduced a defect that would end up plaguing the project until the end. It seems innocuous and easily corrected along the way, but I had to re brace every single step until the final mold. If I were to go back in time I’d probably redo this stage until it was right.
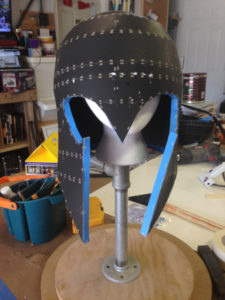
A couple of cardboard pieces and some hot glue and we were ready to epoxy coat and fiberglass.
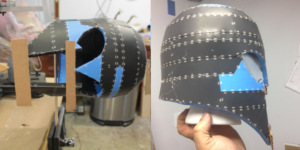
Lots of builders use polyester resin but it’s pretty toxic stuff. It will stink up your shop for weeks.

So I used Epoxamite 101 from  Smooth On which is a less toxic option that will get you great results. You still have to work in an open area with proper respirator equipment but it doesn’t linger and piss off your neighbors.

First you coat the cardboard shell to laminate (make it hard with epoxy) it.
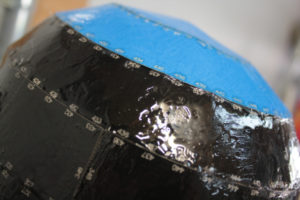
Then you use the Epoxamite to fiberglass the interior for strength.
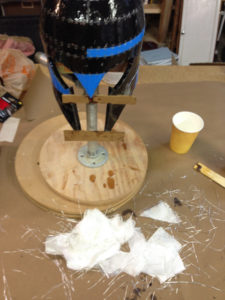
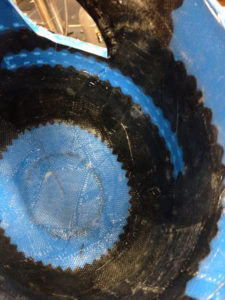
Popped the bracing off with a heat gun.
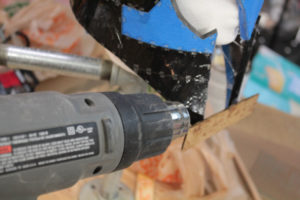
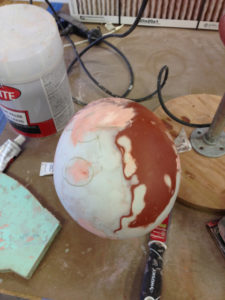
Stage Two: Apply an automotive body filler, and sand, and repeat until you think it’s done, and then do it some more.

Recommend using a light body filler, because proper Bondo cures very hard and become difficult to sand/shape without power tools A lot of this comes down to finesse to get symmetry. I custom cut some applicator out of styrene for applying on the curve.
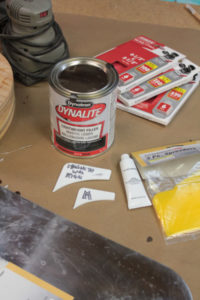
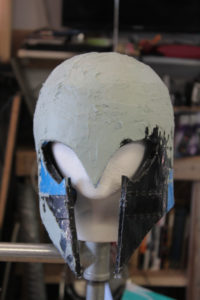
There is a period as the body filler cures where you can use a razor to cut and smooth before you start sanding.
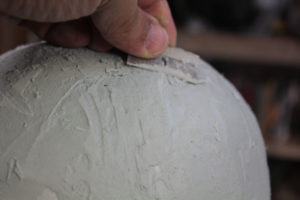
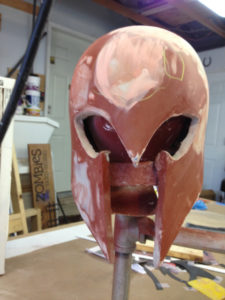
To achieve a screen accurate helmet, I had to cut and brace wood with the body filler.
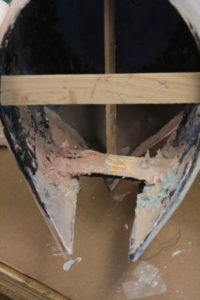
Sand and fill…
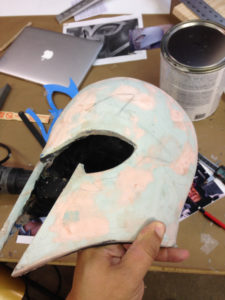
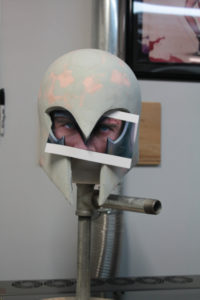
Paint with primer, and that will let you know how close you are…
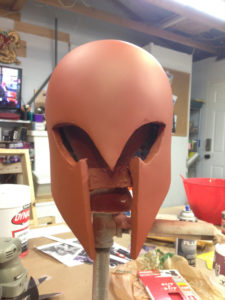
Which is usually not very close.
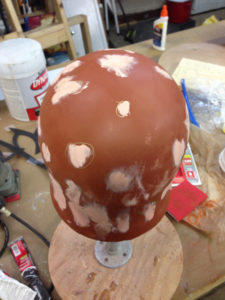
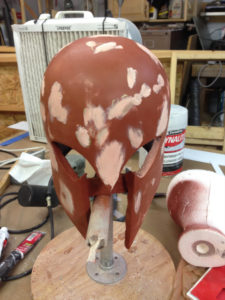
Doing test cuts for the raised surfaces.
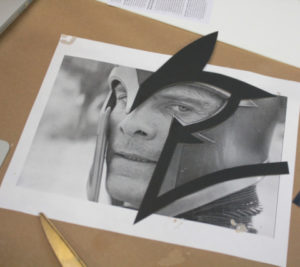


Refine, looks perfect right?
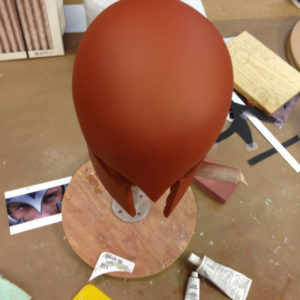
It was of course, but only on one side.
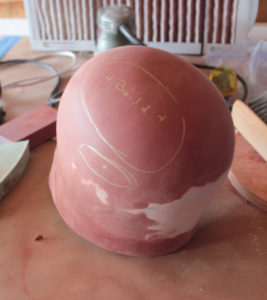
 

Instead of trying to build up filler on cardboard, I cut the parts out of styrene on the laser.
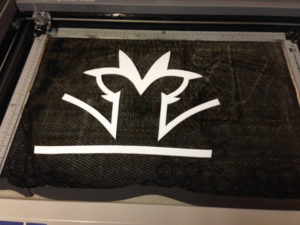
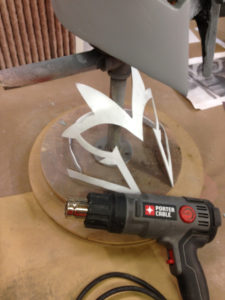
Using a heat gun, formed the parts over the helmet, but not without causing some bubbling in the in primer layers.
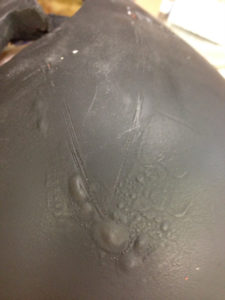
Nothing a little sanding and filling couldn’t clean up.
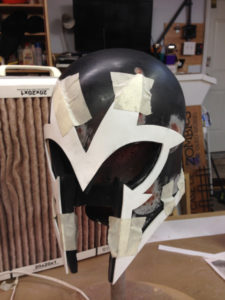
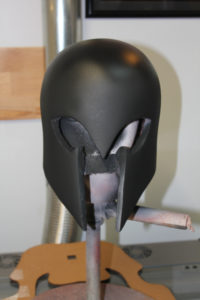
My theory is if you get it shiny smooth before you mold it, that’s less work for us when it’s cast. So sanding it up to about 1200 grit.
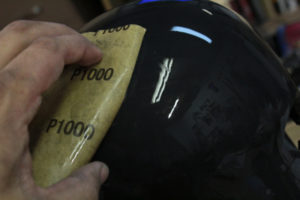
Then applying an automotive clear coat finish.
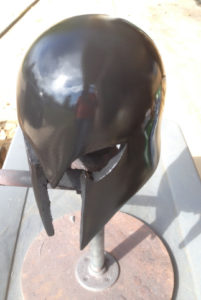
If you’re just going to waste mold it, like I was going to it seems a lot of extra effort, but really the clear coat was to protect it when gluing on the styrene pieces. You could literally scratch the finish with a fingernail, and I didn’t want to risk the superglued plastic ripping up a chunk.

If you ever have to buy a gift for a maker, and don’t know what to get: clamps. There are never enough. Any size will be well-loved at some point.
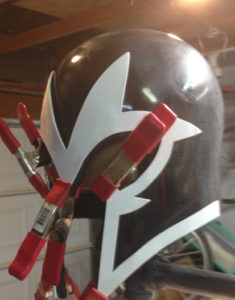
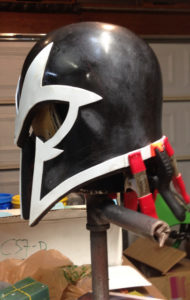
I wanted a helmet that didn’t rely on wood bracing to remain true, and the edge work needed to be cleaned up anyway.

To be continued…
Magneto Build Part 1

Stay tuned for Part 2
This helmet is available as a kit.

Save

Save

Save

Save

Save

Save

Save

Save

Save

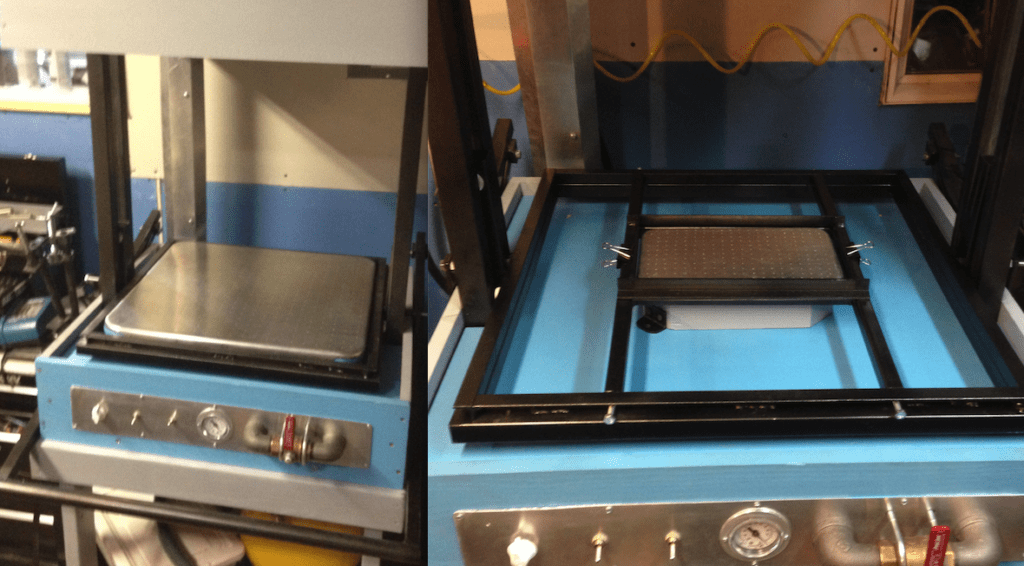
Vacuform Small Upgrade: 8″ x 12″ Platen

I took on a project that required vacuforming some parts, but my www.build-stuff.com Proto-Form has a 24″ x 24″ bed.

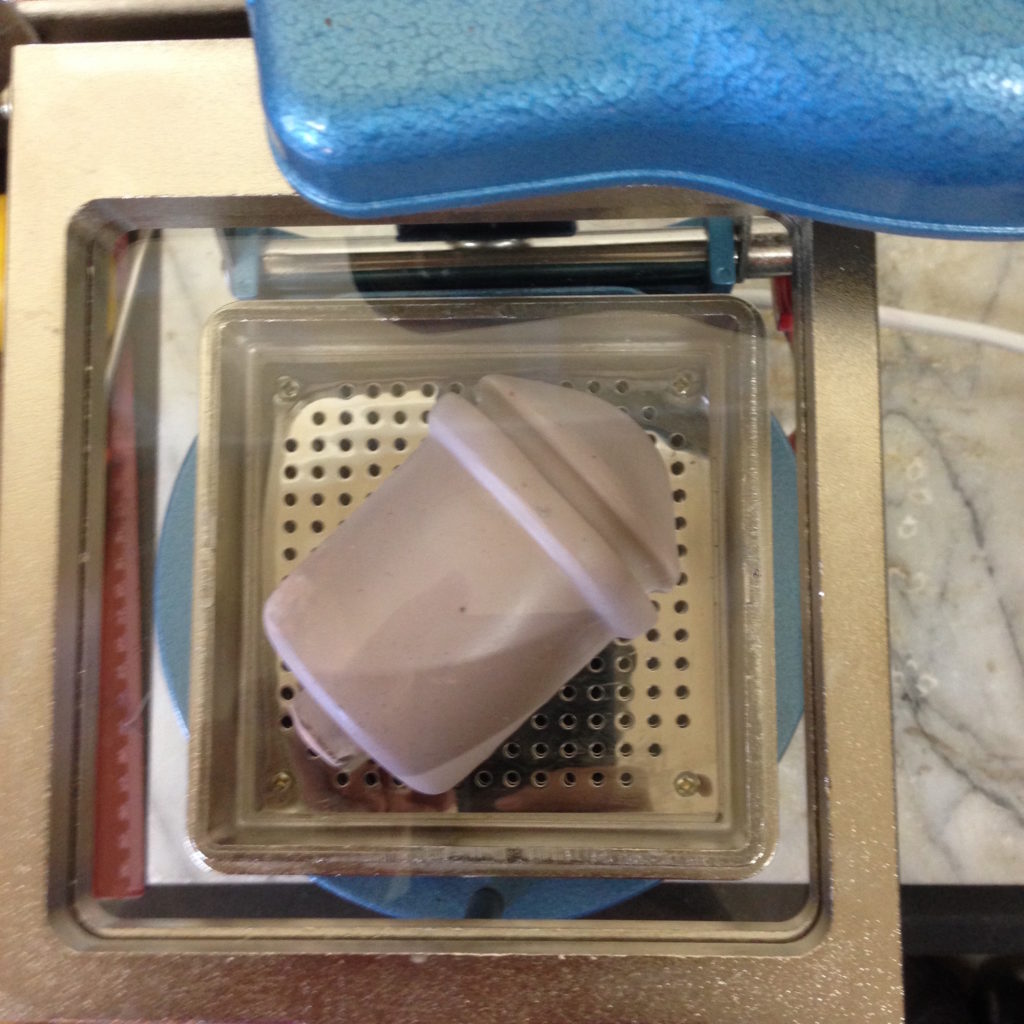
The client had a dental vacuform which was tiny and horribly inconsistent. There was no way I was going to get 500 parts out of it. So it was time to upgrade my vacuform- who I call Khalessi.

Dental Vacuform


So it was either build a tabletop vac or simply upgrade my vacuform to accommodate PETG and other expensive  materials.

Length Width
material 8 12
frame (i.d) 7 11
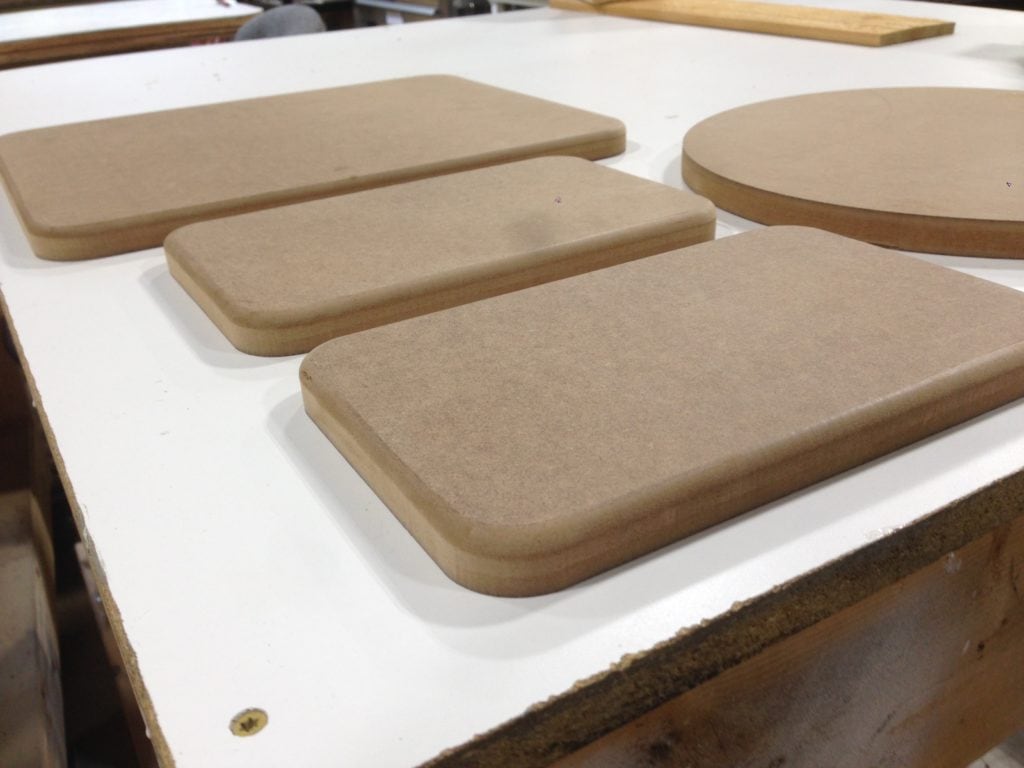
mdf 6.375 10.375
top aluminum 8 12
bottom aluminum 6 10
mesh 5 9

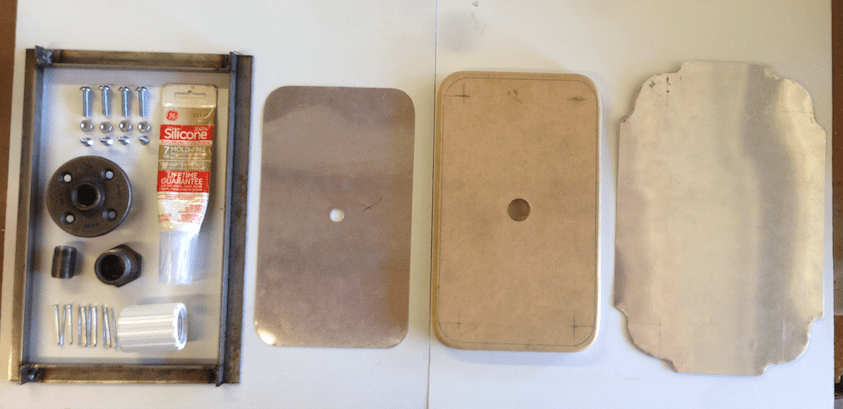
Khaleesi Upgrade Proto-form Vacu-form Materials


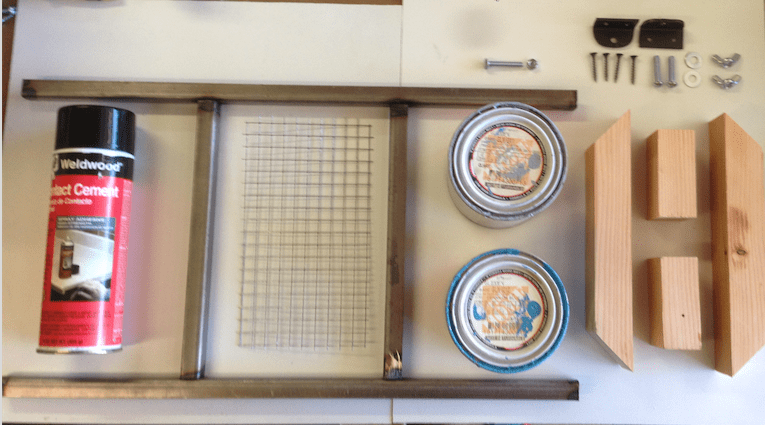
BOM:

  • 69″ of 3/4″ angle iron (2x 22.5″, 2×11″) Bottom Frame
  • 36″ of 3/4″ angle iron (2x 14″, 2×11″) Top Frame
  • 3/4″ MDF cut to size
  • 2 pieces of aluminum sheet cut to size
  • 1/2″ hardware cloth cut to size
  • 1/2″ pipe flange
  • 1/2″ pipe cut to size
  • 1/2″ thingee
  • 1/2″ to 1″ iron hex reducer
  • 1″ pvc coupler
  • 4 x #10 Screws
  • Sealing silicone
  • 2×2 wood
  • 2 x L-brackets like Part R, and hardware.
  • 4 x 1/4″ nuts
  • 4 x 1″ 1/4 round head bolt
  • 1 x 1/4″ Hex head bolt
  • Various clamps and 2 x vice grips

KhaleesiProtoform Vacuform Upgrade Materials


Part 1: Modifying the Carriage Assemblies and building new frames

So this upgrade requires drilling holes in the main frame and attaching an angle iron frame to hold material over a smaller platen. So if you’ve already made a platen according to the plans, these are scaled smaller.

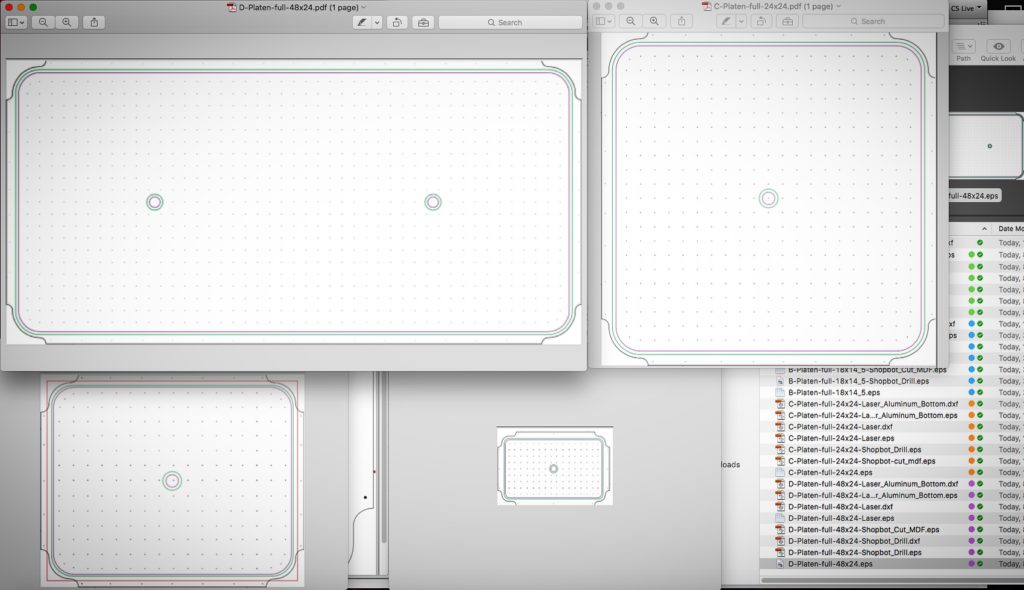
I’ve made CNC plans so you can carve and cut parts and templates with a laser cutter and an x-carve/shopbot.

First we start with standard welding build the frame so that it fits front to back inside of your carriage assembly. Make sure you get actual angle iron with a sharp exterior corner. The big box stores carry a 3/4″ angle iron with a soft bend, which gives you less surface area to hold the piece. (I’m going to have to redo mine).

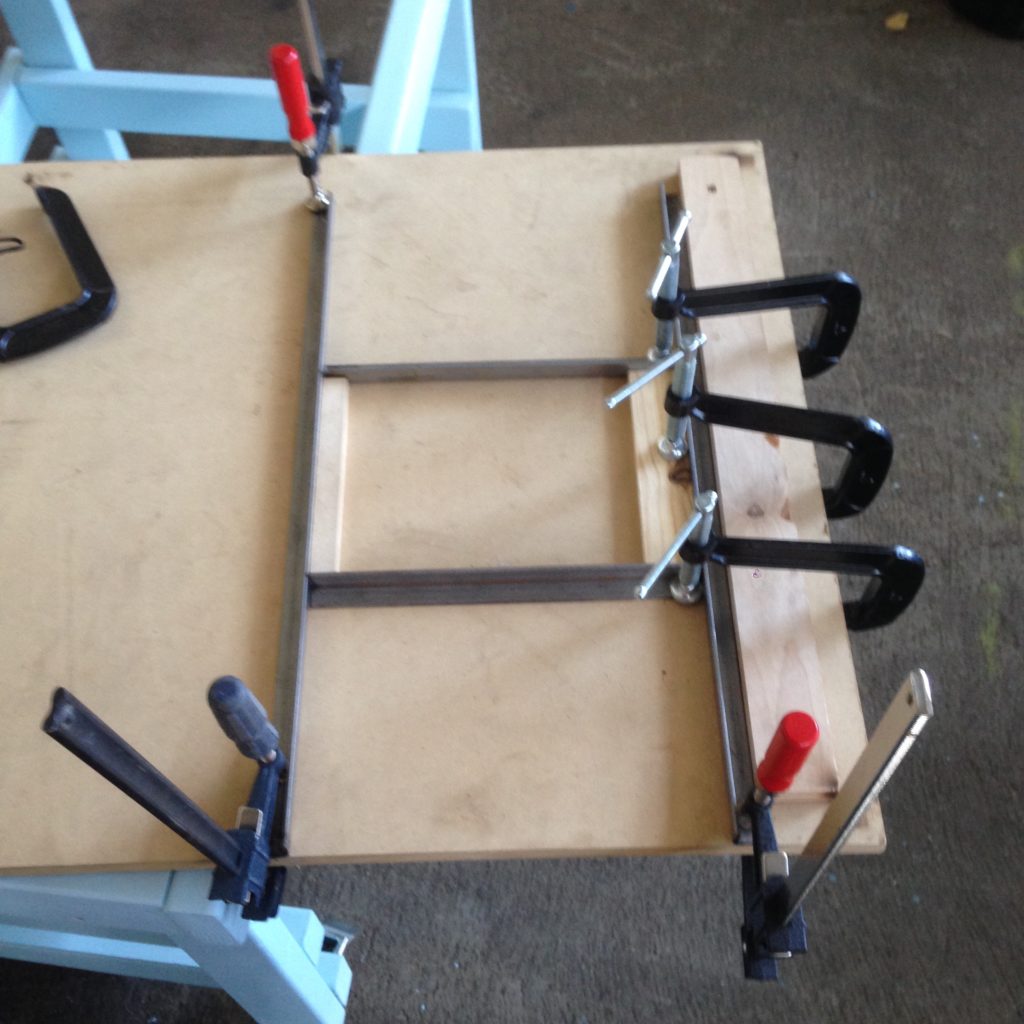
Jigging the new frame

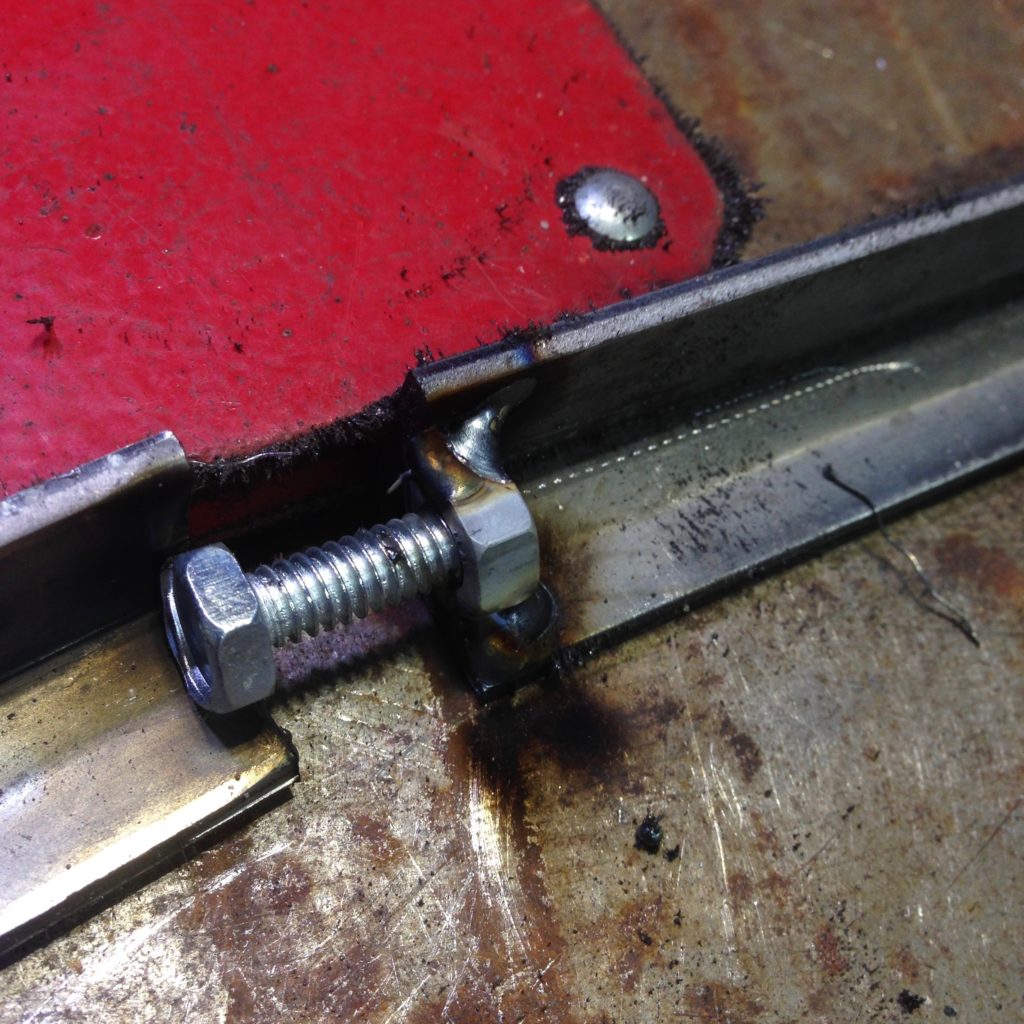
For the connection point to the carriage assembly, you need to weld screws to your new frame.

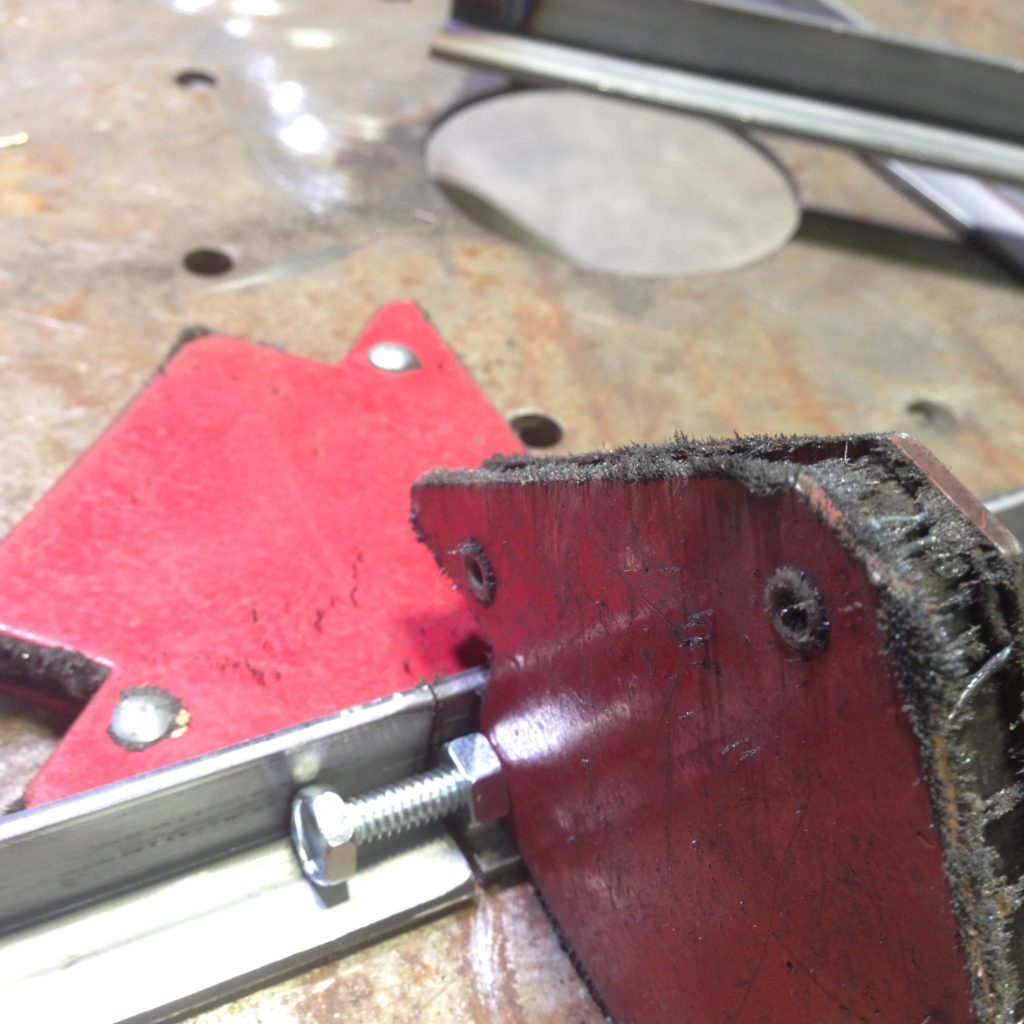
Here’s my little trick to get the nuts on square. Use a bolt with the same size head, and line it up a separate piece of angle iron.

Weld setup for 1/4" nut

Once it’s welded in place you can slide off the angle iron and replace it with a round head bolt that you can use a screw driver on.

 Removing bolt

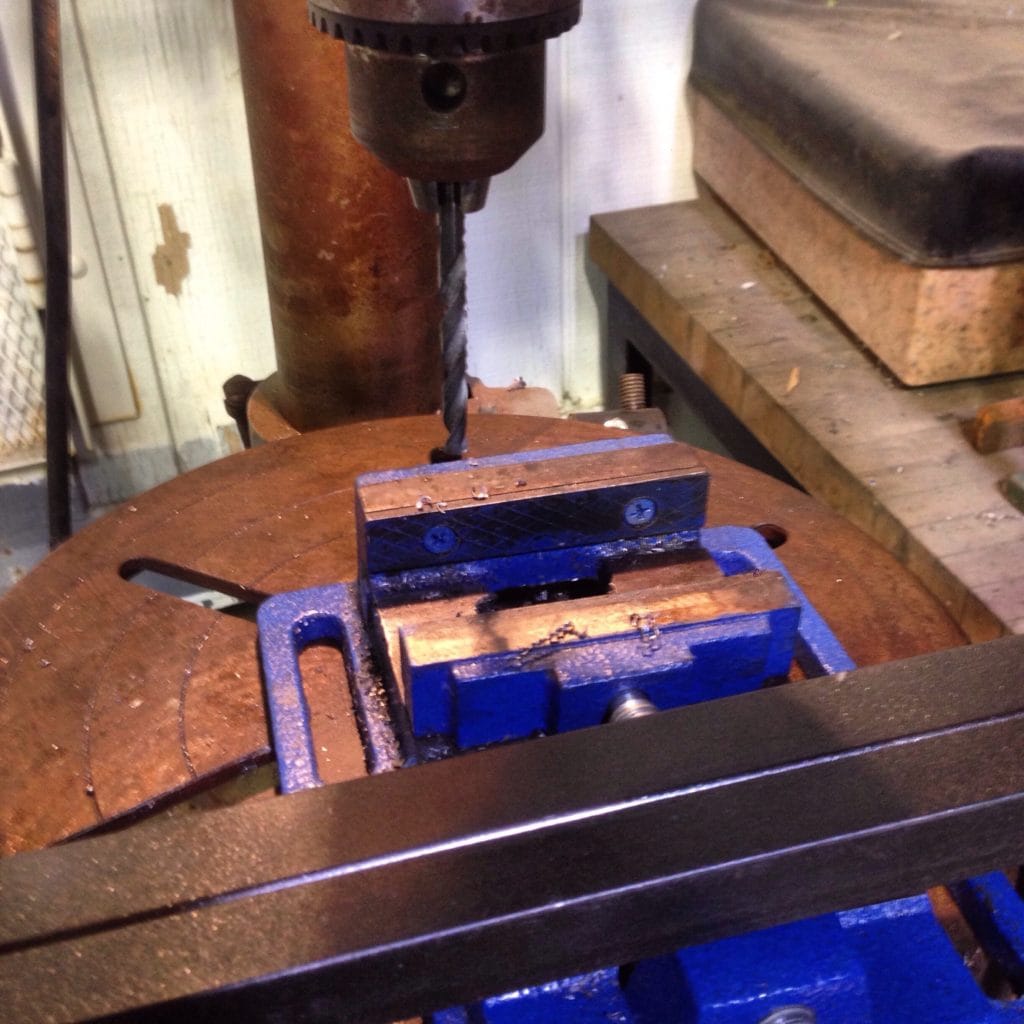
Once you’ve got the frames welded up, all you need to do is drill holes in the carriage assembly-

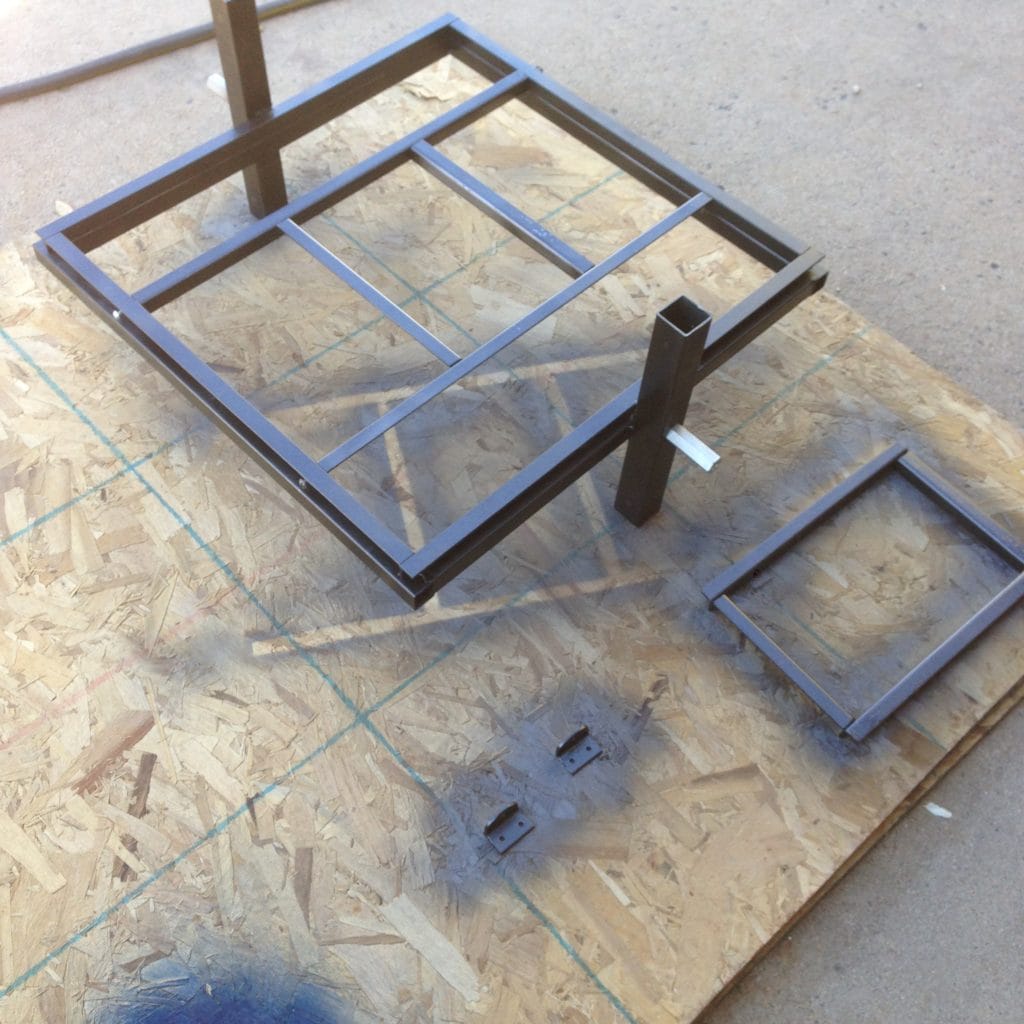
I took a Q-tip and some white paint and painted where the new holes need to go. Loaded her up on the drill press. Once you fit your bolts you can clean your steel and paint them up.

Painting frame upgrades for protovac like Adam Savage and Harrison Krix Volpin style vacuform tables

Part 2: Vacuum System

The next part of the upgrade is the attachment where the vacuum hoses switch in and out between platens. I never really like the original plans because it relied on a silicone seal to hold pvc in place and silicone formulas have changed and gotten softer.

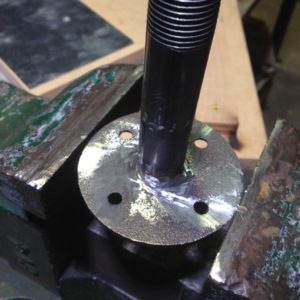
Pipe Flange for protoform vacuform Khaleesi upgrade

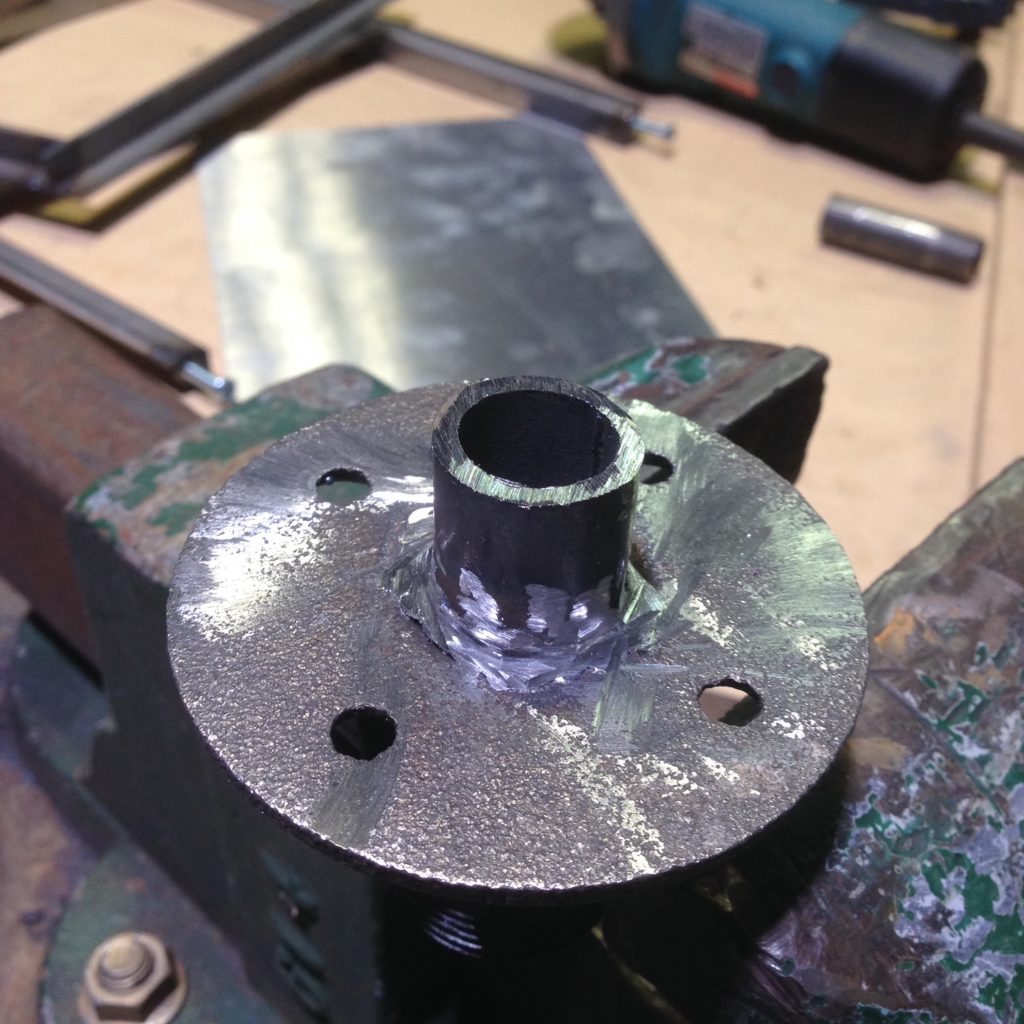
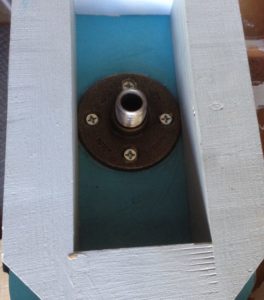
The new method I use, is I take a pipe flange, weld a bit of one inch pipe to the inside. This lets me have a solid iron flange that I can screw to the platen permanently and change out the vacuum hose easily with out damaging the seal.

Cutoff wheels

Now there is a silicone seal from the platen to the flange. The flange is screwed to the bottom of the platen, so changing platens won’t create seal issues- ever.


Part 3: The Platen

The rest is pretty standard except you get to use cnc tooling and templates to finish it with the files that I made.


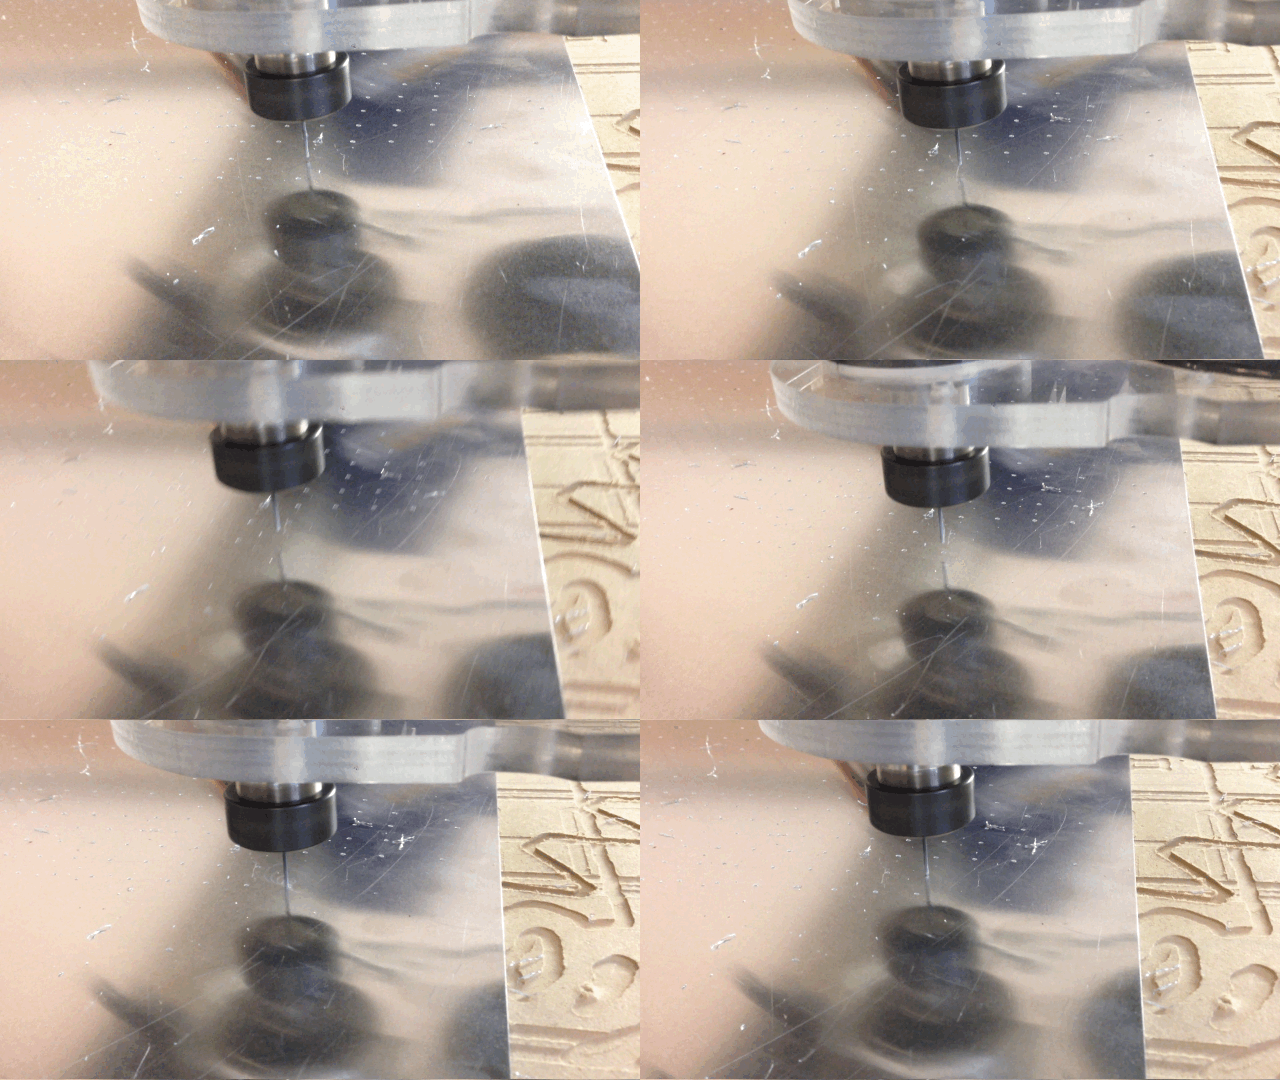
You cut your MDF on a cnc router like an X-Carve for this size, or a Shopbot (at your local makerspace). Or you can print, or laser cut a template and do it the old fashioned way. But the very best use of these tools, is to have them drill your holes for you. No more evenings spent drilling by hand!

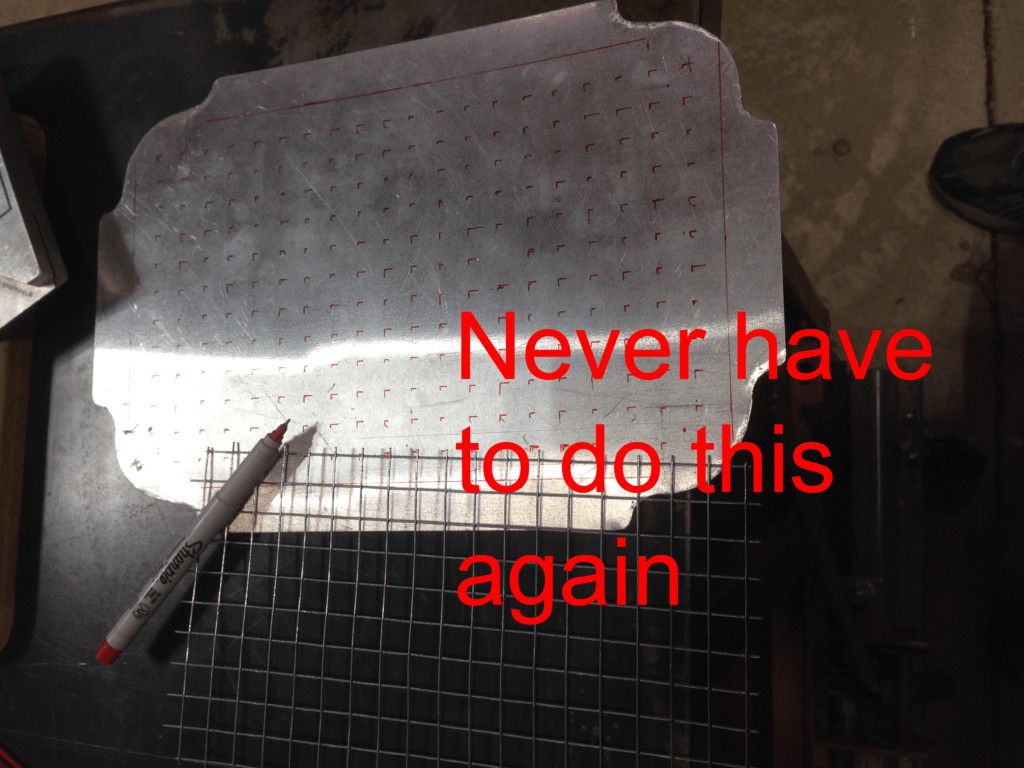
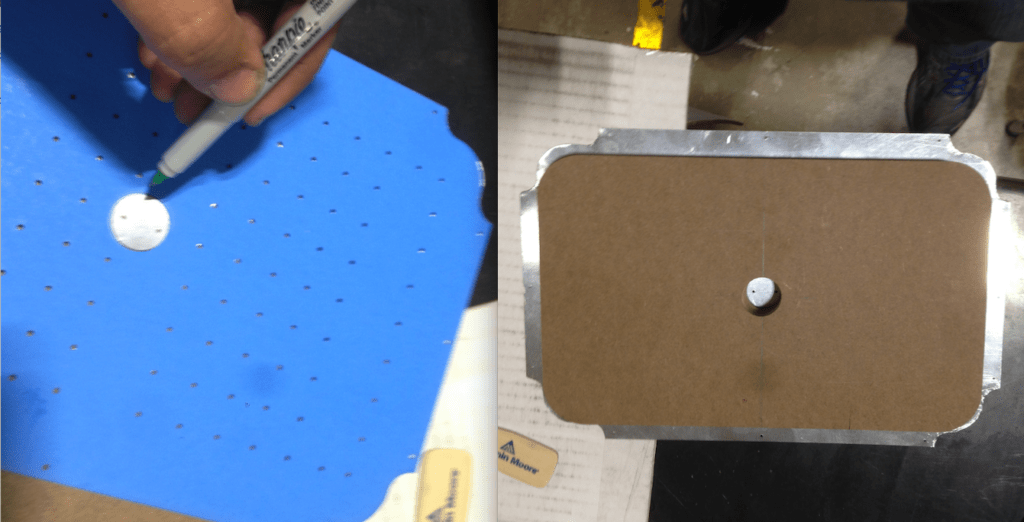
and the cardboard templates let you mark holes for alignment when you are bending and cutting metal.

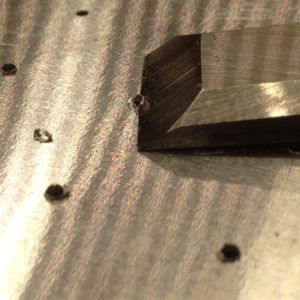
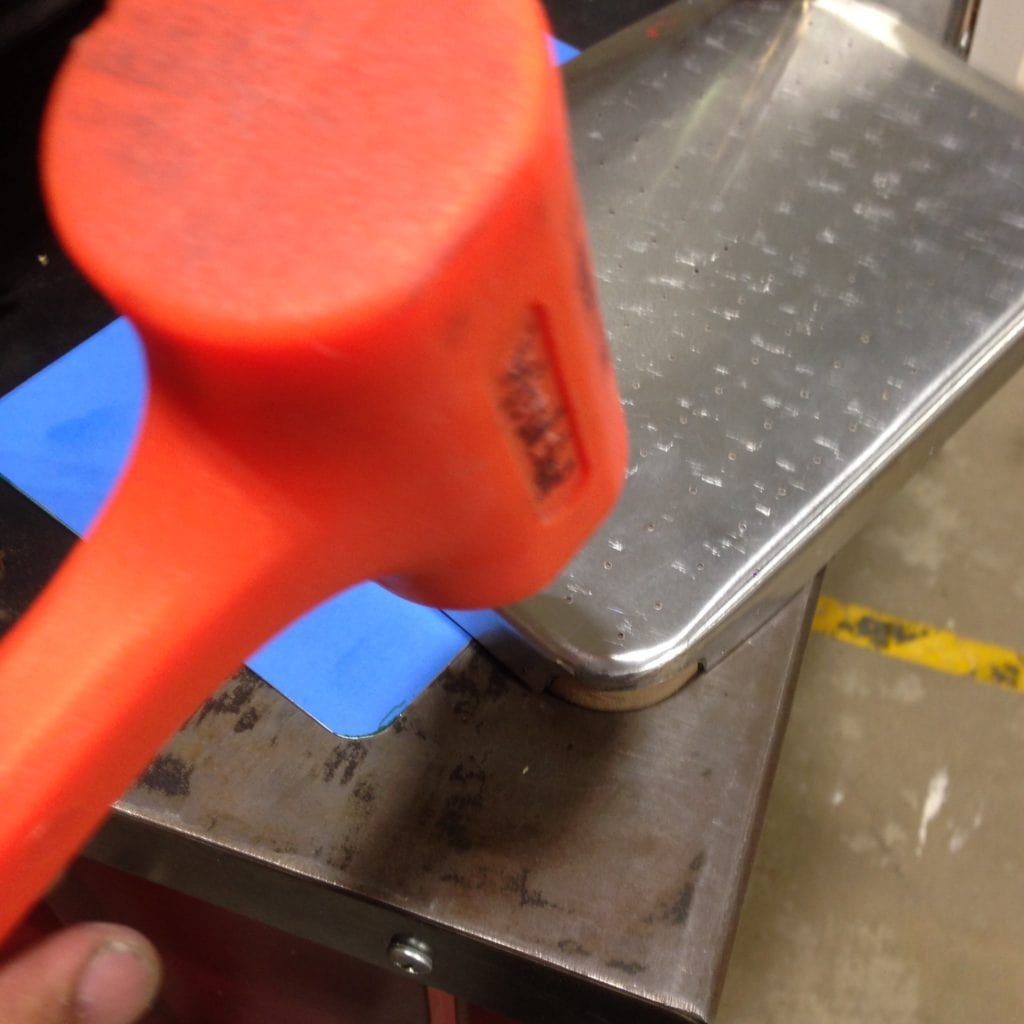
A nice trick I learned is that with a sharp steel (new) chisel you can scrape the burrs off instead of having to use a 1/4″ drill bit. Way faster!

Using the cardboard templates you cut out on the laser cutter, you can accurately draw alignment marks so there’s no guess work.

The rest is pretty standard.

Once you follow the normal instructions from the Proto-form plans, you can convert your larger sized platen to a more manageable sized one.


Save

Save

Save

Save

Save

Save

Save

Save

Save
Save
Save

Save
Save

Save
Save

Save

Save